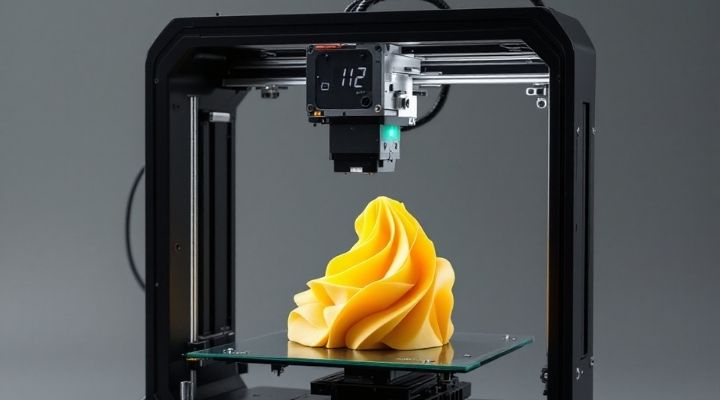
How to Add Different Color Text to 3D Print
Adding different colored text to your 3D prints can greatly enhance customization and visibility. This guide covers various software tools and techniques to achieve multi-color 3D printed text effects.
Integrating colorful text into your 3D printed objects opens up creative possibilities. Follow this guide to learn key methods for adding different color text to 3D print using single and multi-extruder printers.

Understanding the Basics
What is 3D Printing?
3D printing builds objects layer-by-layer from the bottom up using melted filament. Materials like PLA and ABS plastics are commonly used.
Colored Filament
Using colored filament allows for visually striking single color 3D printed objects. Multi-color effects require alternate solutions covered in this guide.
Text in 3D Printing
Integrating text into 3D printed objects has many applications from personalised name plates to enhanced visibility of labels through colored raised text.
Software Tools and Techniques
Fusion 360 Text Inlay
Autodesk Fusion 360 offers advanced capabilities for modeling multi-color text inlays within your print:
- Create base model and add text using the Sculpt tool
- Use Press Pull to create a recessed area for colored infill
- Set infill settings and slice with color change at specified layer
Cura Color Change
Cura software allows switching filament colors during printing process:
- Import design into Cura
- Add color change points at specified layers
- Complete prints with paused filament swaps
The Creality CR-10 printer is ideal for Cura filament swaps.
PrusaSlicer Paint-on Layers
The Prusa community recommends ‘painting’ layers and modifying GCode for multicolor text:
- Toggle extruders on and off at defined layers
- Works for distinct patches of color
Practical Guides and Case Studies
Beginner Color Text Tutorials
Follow these simplified steps for new users:
- Design base model with raised text in CAD software
- Import into slicing software like Cura
- Add color change points between print layers
- Complete print using filament swap techniques
Multi-Color Name Plate Case Study
Customized name plates serve as creative samples for multi-material prints:
- Base Model: Rectangular name plate with engraved text
- Technique: Paused print and filament swap at text layer
- Filaments: Gold PLA base, silver PLA for top text layer
Advanced Techniques and Innovations
Emerging methods for multi-color 3D printing:
- Single extruders with filament mixer kits
- Independent dual extruder printers
- Developments in multi-material print software
These enable more seamless color swaps within prints without pauses.
Troubleshooting and Optimization
| Issue | Solution |
|---|---|
| Text Distortion | Verify level print bed, calibrate extruder steps |
| Text Alignment Problems | Position models/text away from edges |
| Poor Layer Adhesion | Adjust nozzle gap, rectify cooling issues |
Optimizing print settings is crucial for quality:
- Use smaller layer heights for finer details
- Set optimal print speeds, cooling and bed adhesion for material
- Calibrate flow rate and extruder steps
Aesthetic and Design Considerations
- Use contrasting colors for enhanced visibility and text legibility
- Apply design principles for visually balanced models
- Ensure text sizing and positioning enables readability
Environmental and Cost Considerations
- Multi-color text techniques require more processing and materials compared to single color printing hence have higher environmental impact.
- Advanced multi-material printers carry higher costs than baseline FDM printers. Factor in operating and material expenses against application requirements.
Conclusion and Key Takeaways
Implementing multi-color text in 3D printing requires adapted design workflows but enables creative enhancements. Master fundamental software tools like Fusion 360 text inlays and Cura color change GCode modifications for personalized prints with painted layer effects. Optimizing print quality is vital for legible text integration.